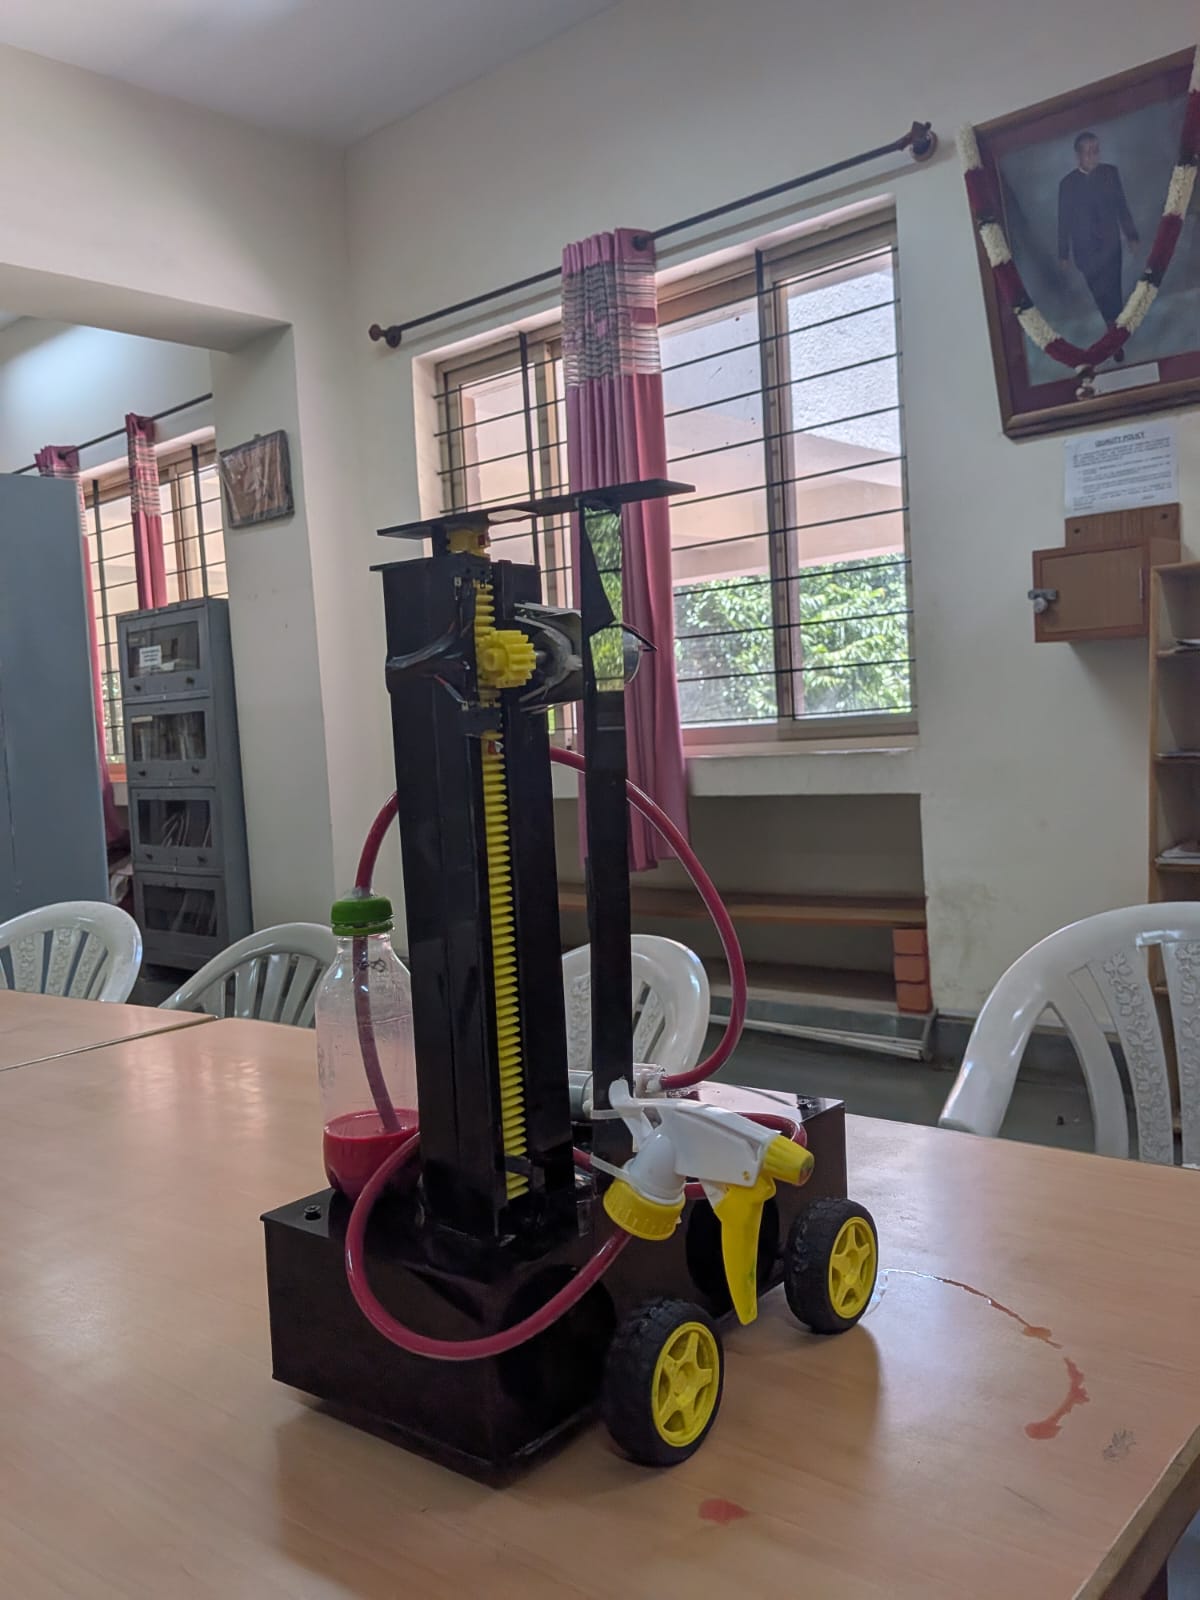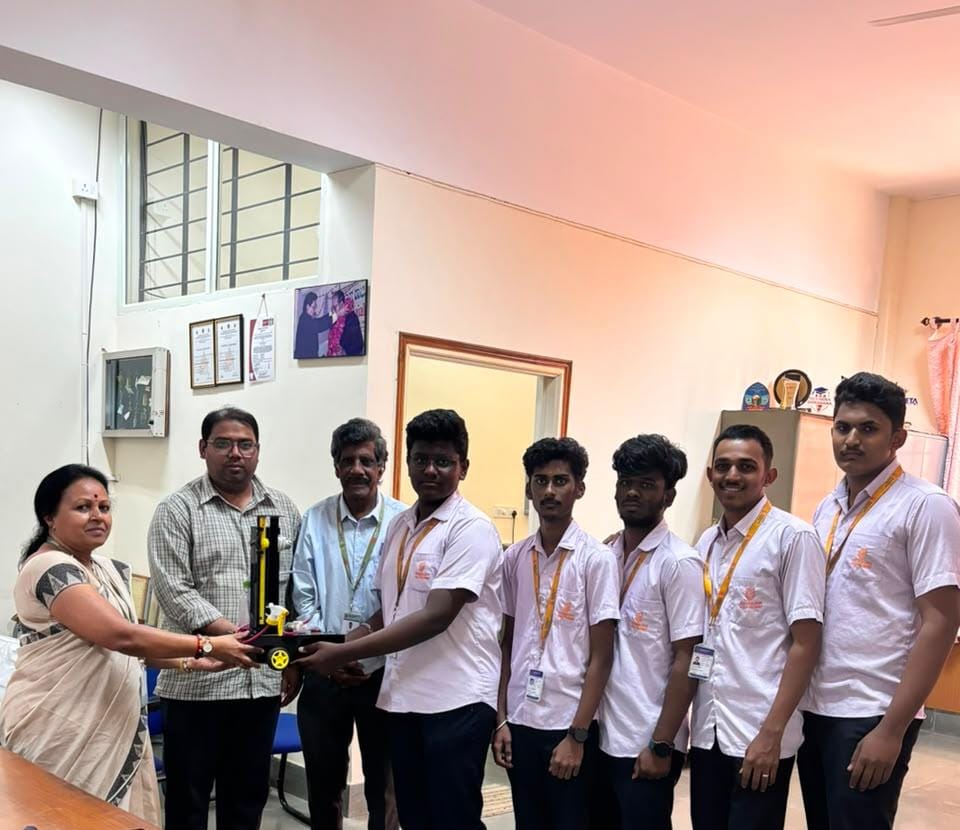
Design & Development of Automatic Wall Painting Machine
Guided by : Mr. HANNAN PASHA, Lec/ME
Developed by : 4th SEM Mechanical Engineering students.
- 476ME24009- J J YURRAJ
- 476ME24023- SAI GUNAL U
- 476ME24024- SANTHOSH S
- 476ME24028- SURESH A V
- 476ME24030- V RUSHABENDRA
Department : Mechanical Engineering
Working Principle:
The automatic wall painting machine begins operation by moving the painting mechanism vertically upward using a geared DC motor. When the mechanism reaches the top limit switch, the motor stops and reverses its direction, causing the mechanism to move downward. After reaching the bottom limit switch, the vertical motor stops, and the stepper motor moves the entire mechanism horizontally by a fixed distance (approximately 3 cm). This cycle of upward movement, downward movement, and horizontal shifting is repeated automatically until the required wall area is completely painted. During the entire operation, the paint pump continuously supplies paint to the spray mechanism, ensuring uniform paint application
List of the components used in project:
| SL NO | Components | Images |
|---|---|---|
| 01 | Pump | 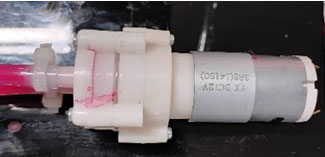 |
| 02 | L298N Motor Driver for stepper motor | 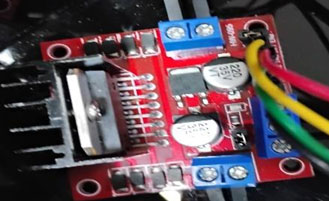 |
| 03 | DC Geared motor with rack and pinion gears | 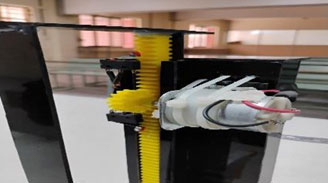 |
| 04 | Stepper motor | 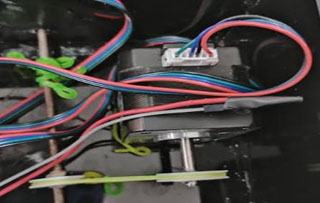 |
| 05 | L298N Motor Driver for DC Geared Motor | 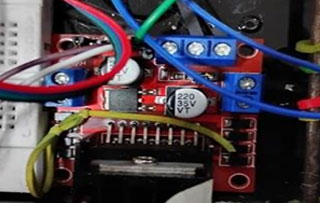 |
| 06 | Arduino Uno board | 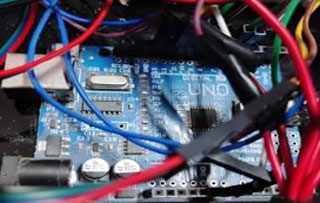 |
| 07 | Storage Tank | 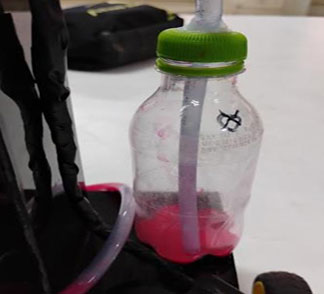 |
Methodology:
Step 1: Problem Definition
The need for an automatic wall painting machine was identified to reduce manual effort, improve painting quality, and save time. The project aims to automate the wall painting process using motors and a microcontroller.
Step 2: Selection of Materials/Components
Suitable components such as Arduino UNO, geared DC motor, stepper motor, motor driver, limit switches, power supply, frame materials, and paint spraying mechanism were selected based on the project requirements.
Step 3: 3D Modeling as per Dimensions
A 3D model of the wall painting machine was designed using CAD software according to the required dimensions to ensure proper arrangement of all components before fabrication.
Step 4: Fabrication
The machine frame and supporting structures were fabricated using the selected materials. Holes, brackets, and mounting arrangements were prepared for installing the mechanical and electrical components.
Step 5: Assembling of the Whole Project
All fabricated parts, motors, painting mechanism, Arduino, limit switches, and other components were assembled to form the complete automatic wall painting machine.
Step 6: Programming and Connections as per the Circuit Diagram
The Arduino UNO was programmed to control the motors according to the required sequence. Electrical connections were completed as per the circuit diagram, ensuring proper communication between the controller, motor drivers, and limit switches.
Step 7: Testing and Modifications
The assembled machine was tested for smooth vertical and horizontal movement, proper operation of limit switches, and painting performance. Necessary modifications were made to improve accuracy, reliability, and overall performance.
Conclusion:
The automatic wall painting machine successfully automates the wall painting process by combining vertical and horizontal movements with a continuous paint supply system. The use of an Arduino UNO, geared DC motor, stepper motor, limit switches, and a paint pump ensures smooth, accurate, and uniform painting. This system reduces manual effort, saves time, improves painting quality, and enhances safety by minimizing the need for workers to perform painting at heights. It provides a simple, cost-effective, and efficient solution for wall painting applications.